Final Step: How To Install The Shingles on the Roof
Coming from Part 3, you are now ready to install the main shingles on the roof.
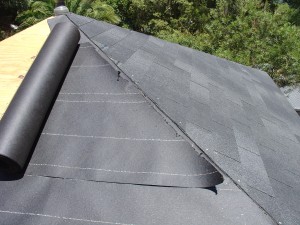
With the starter course lining up the bottom edge and the right hand side with the vertical chalk line, hammer four nails in the shingle, at the point just below the self sealing strip and about 10mm above the cutout. This is the reason behind the starter course – there are two layers of asphalt roof shingles at all times.
TIP “If you don’t want to see the nails protruding through the plywood a solution would be to buy a 20mm shank x 10mm head galvanized clout nail. For plywood, use a 17mm plywood”
In this video, it shows how we line up the asphalt roof shingle on the vertical lines.
It also shows a little trick using our asphalt roof shingles. Holding the asphalt roof shingles by the outer edge and feeling it with your thumbs, you will notice small cut outs on the sides. This measures the exact height of the shingle on the lower course. Push down on the cut out and slide the shingle down until it hits the previous course of asphalt shingles.
TIP: Asphalt roof shingles come with a cut out on the side and one on the top of each fiberglass three-tab asphalt shingle. This ensures that the roof tile is placed correctly on the roof. However, it is best to not just depend on the cut outs as the only guide. It is advisable you use a chalk line every 3-4 courses.
Just a recap: hammer four nails per asphalt roof shingles at 10mm up from the cut outs and but the shingles close together.
TIP “While in regular, standard installations we recommend 4 clout nails per asphalt shingle, we recommend 6 nails per asphalt shingle. Use two nails on either side of the cut out about 10mm and 1 nail on either end.”
Remember to snap a horizontal chalk line every 3 – 4 courses to ensure your asphalt roof shingles are aligned. With the asphalt Roof Shingles, we measure 140mm up from the previous course on both ends and snap a chalk line. This will be the line that serves as a guide to keep the horizontal lines straight.
TIP “Be more careful if the roof you are working on is larger as lines can go astray if you are not careful.”
Cut the capping pieces for the hips and ridge (if there was one) as shown in the video. Each three tab asphalt shingle creates three capping pieces. In the video, you will see that I cut the capping pieces with a hook blade and backward on a slight angle. Doing this gives the hip a much neater line and also folds the hip caps over nicely.
TIP “Every 21 pc bundle of Three-tab asphalt roof shingles can be cut into 63 pieces of hip and ridge capping. This covers 8.8 lineal metres of hip or ridge.”
This will show you how to cut straight down the hips with a special hook blade knife. This tool is necessary as it lets you cut the asphalt roof shingles straight through the top.
TIP “One of the most essential tools for building a DIY roof is the hook blade knife. – make sure you have one when building your roof.”
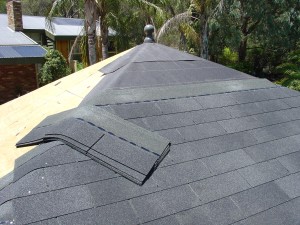
Cut the capping pieces off the main three tab fiberglass asphalt shingle as shown in the video above. After cutting the pieces, snap a chalk line on one side of the hip by 160mm from the center line. This will provide a neat straight line to run the capping pieces against.
The first capping piece will overlap the bottom of the hip. This will be cut later. At this point, hammer the capping pieces up the roof, making sure to align in the same way as in the standard shingle. At the hip’s base, use your hook blade knife to cut the protruding edges off carefully.
This also applies when installing ridge capping pieces.
TIP: “It might be advisable to use a longer clout nail as you are nailing through three layers of shingles.
The courses of asphalt roof shingles are installed up the roof it is thus easy to place shingles on the hip.
Follow the same formula and install the asphalt roof shingles courses up the roof. On this hip line or close to it is a smart idea to hammer a couple of nails in these pieces to secure them in place. Using a dual color design like the IKO dual color marathon asphalt roof shingles will give the roof some depth and definition as compared to flatter colors shingles which lack depth.
TIP “It is recommended not to wear your pair of heavy working boots when walking over an asphalt shingle roof. This may leave marks in the asphalt shingles. A lot of roofers wear tennis shoes instead to grip to the roof surface.”
The most convenient way to run the asphalt shingles to the hip is to lay over and cut at the end, down a string line. If you have large pieces over it is best to cut these off and use them somewhere else.
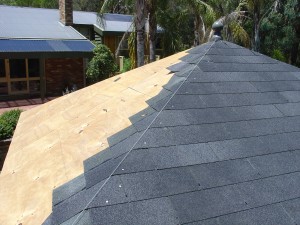
Snapping a chalk line down the hip will make cutting easier.
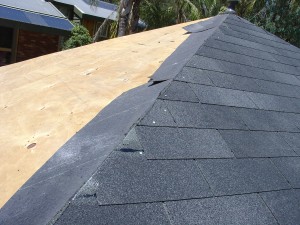
With a hook blade knife clean cut down the hip.
Cut straight down the hip and use the diagonal cut on the felt on the other side of the roof.
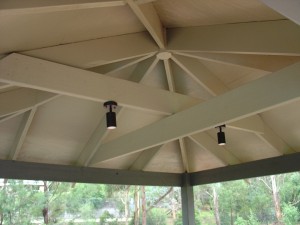
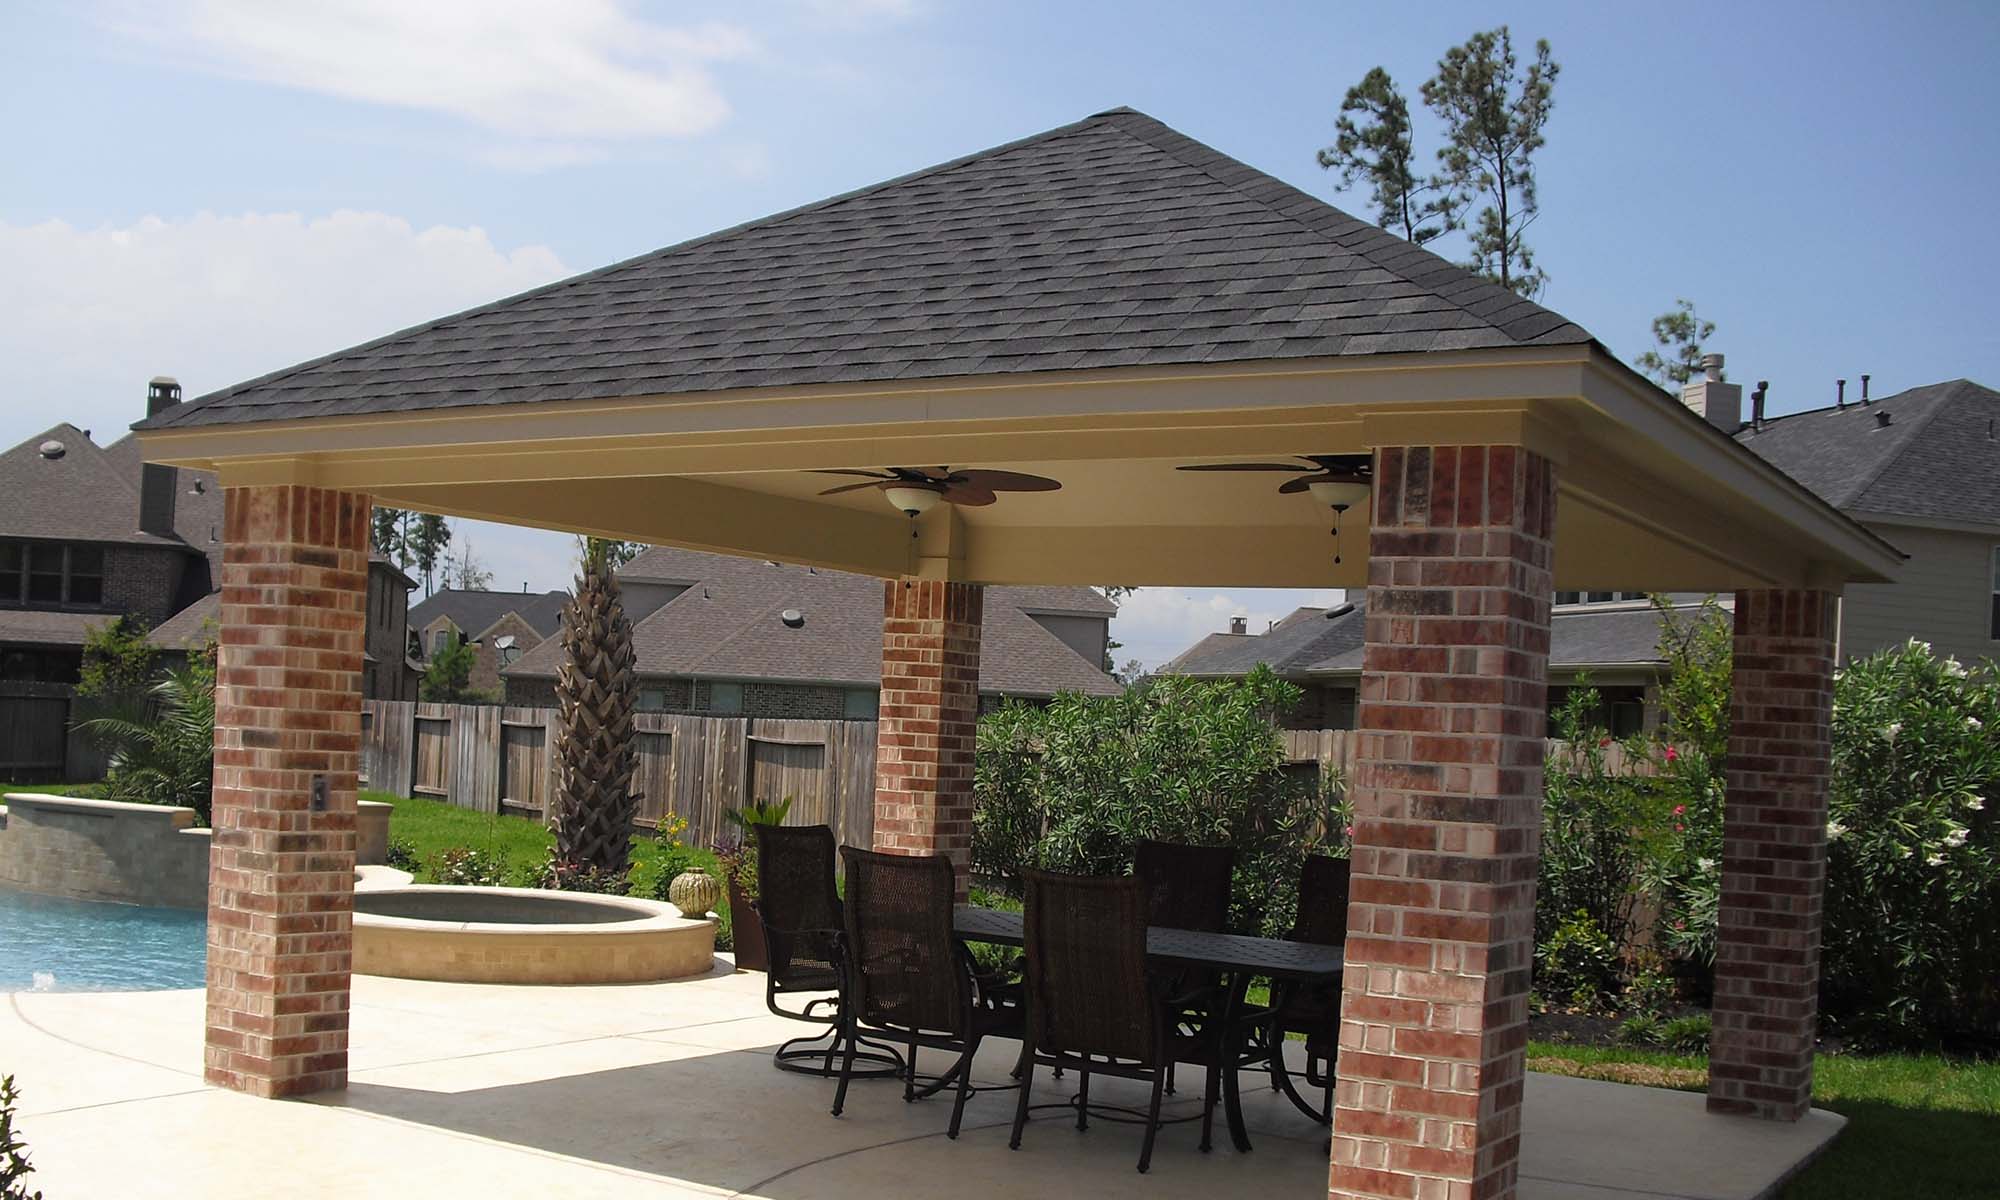
At this point, it is almost done and you are finishing the roof (approximately 2 days). The owner finished the roof off with a small fascia board, giving the roof a bulky look. The underside of the plywood was also painted. Lighting and electricity were installed so it could be used in warm summer nights.
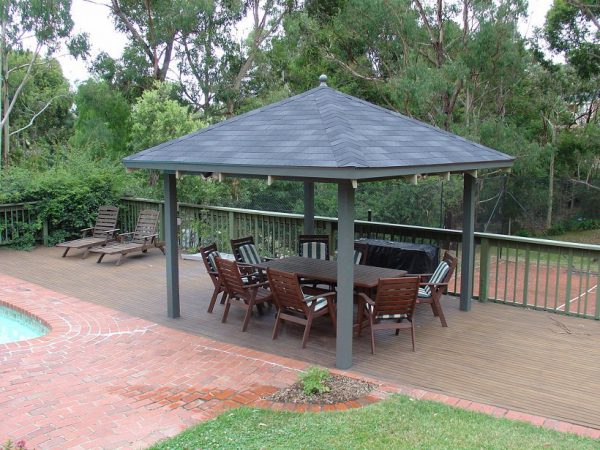
When finished, this is the final look. The asphalt roof shingles really give the structure some strength and class.
TIP: “In this project, the owner built the structure with decent sized wood pieces to help create a solid structure. He also used Woodland Grey for the posts and a Marino color for the rafters to finish off the project.
This finishes off the DIY Asphalt Roofing guide. Please do not hesitate to contact us for any questions.